
Can a few well-placed fixtures really keep your plants healthy through the darkest months? That question sits at the heart of any smart indoor growing plan.
Supplemental light delivers the right wavelengths when days shorten or clouds linger. Blue light (about 425–450 nm) helps leafy and stem growth, while red light (600–700 nm) promotes flowering and fruit set. Small adjustments in distance and timing make a big difference.
Practical setup tips include keeping fixtures 6–30 inches from the canopy depending on type and running full-sun crops 13–16 hours daily. These shifts extend the growing season, speed seedling starts, and keep production steady in winter.
For equipment choices, performance notes, and how to tune coverage and heat, see this short primer at the beginner’s lighting resource. Clear steps here will help you scale from a few trays to full-bay coverage without wasting time or energy.
Key Takeaways
- Blue and red wavelengths target vegetative growth and flowering.
- Keep fixtures 6–30 inches away depending on type to avoid stress.
- Aim for 13–16 hours for full-sun crops, with dark periods for balance.
- Supplemental light extends the growing season and speeds seed starts.
- Match fixture choice to budget, heat tolerance, and long-term value.
Why Light Makes or Breaks Greenhouse Gardening Year-Round
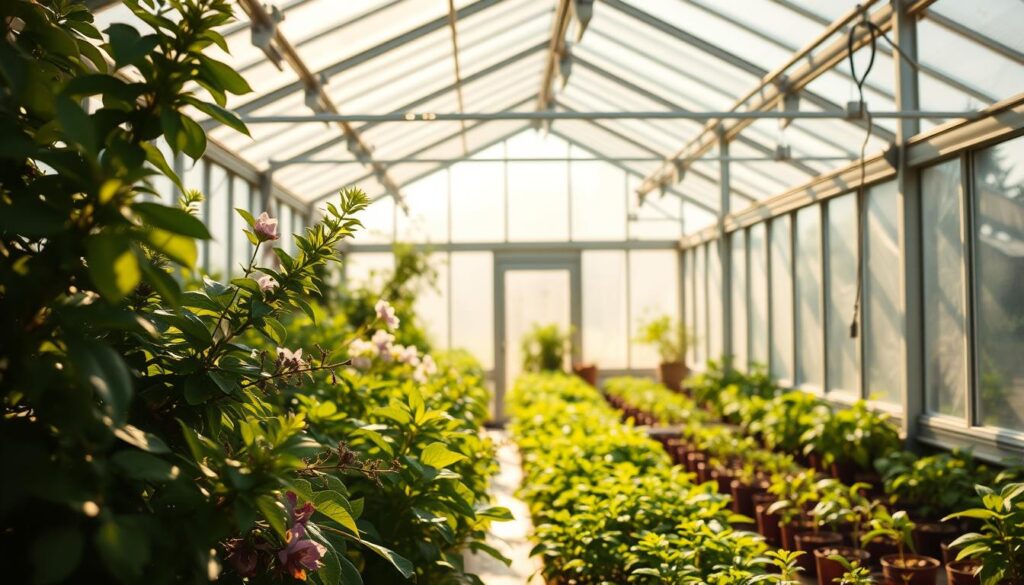
Light sets the pace for growth and crop timing inside any covered structure. Short days, low sun angles, and cloudy stretches can cut photosynthesis and stall production.
In northern latitudes, winter days are shorter and the sun sits low. That creates deep shadows and lowers light intensity even through good glazing. Many common crops need at least six bright hours; fruiting types often require 12–16 hours to flower or set fruit.
Because a greenhouse transmits but does not create sunlight, supplemental fixtures become the source of consistent daylength and intensity during overcast or short-day conditions. A simple light meter helps you measure morning, midday, and late-afternoon levels to decide when to add artificial light.
Practical benefits include steadier growth, fewer stretched stems, and more uniform benches. Winter shadows from trees, fences, or nearby buildings can leave corners underlit; well-placed fixtures restore balance and prevent weak spots.
| Plant Type | Min Bright Hours | Preferred Daylength |
|---|---|---|
| Leafy greens | 6–8 | 10–14 |
| Flowering/fruiting | 8–12 | 12–16 |
| Seedlings | 10–14 | 14–16 |
- Measure light at three times daily to spot dips.
- Plan light schedules where natural sunlight falls short.
- Use supplemental fixtures to protect crop timing through winter and cloudy seasons.
For a compact planning tool and layout ideas, see the interactive urban greenhouse to match lighting plans to your space.
How Grow Lights Work to Mimic Natural Sunlight and Drive Plant Growth
Grow fixtures supply the exact energy plants use, not just visible brightness. They combine targeted wavelengths and timed hours to keep photosynthesis steady when the sky falls short.
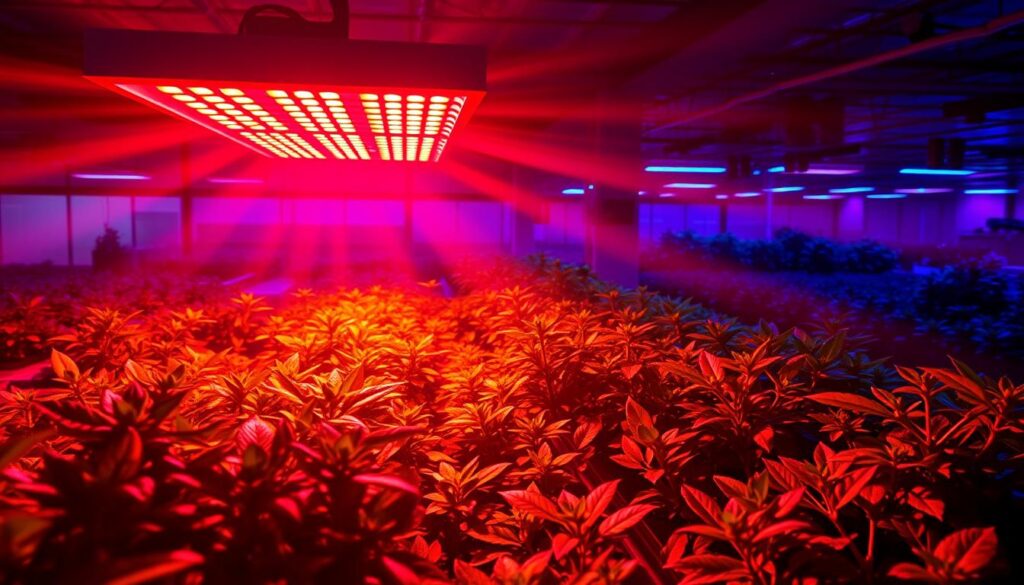
A grow light sends photons that leaves turn into sugars. Photosynthesis powers roots, shoots, and blooms. In a greenhouse, dedicated fixtures prevent slowdowns on cloudy days.
Photosynthesis basics: from light to plant energy
Chlorophyll and accessory pigments absorb light and fuel chemistry inside the leaf. This stored energy becomes the food a plant uses to build tissue and flowers.
Blue and red wavelengths explained
Blue (425–450 nm) encourages compact leaves and strong stems. Red light (600–700 nm) signals flowering and fruit set. Together they form a balanced spectrum that the plant can use.
Photoperiod and daily light integral
Match daylength to crop needs. Many full-sun crops do best at 12–16 hours. Manage the DLI (total light per day) so development stays on schedule.
- Measure response by leaf color and internode length.
- Tune spectrum for both vegetative strength and reliable flowering.
- Top off daily energy with fixtures when sunlight dips.
“When dialed in, photosynthesis stays steady: leaves remain a healthy green, internodes stay tight, and blooms arrive on schedule.”
gardener’s guide using grow lights year-round greenhouse
Decide on lighting by matching local daylength and your crop goals. Short winter days, shady sites, and limited power will shape what you can realistically produce.
Local Climate and Daylength: Short Winter Days and High-Latitude Challenges
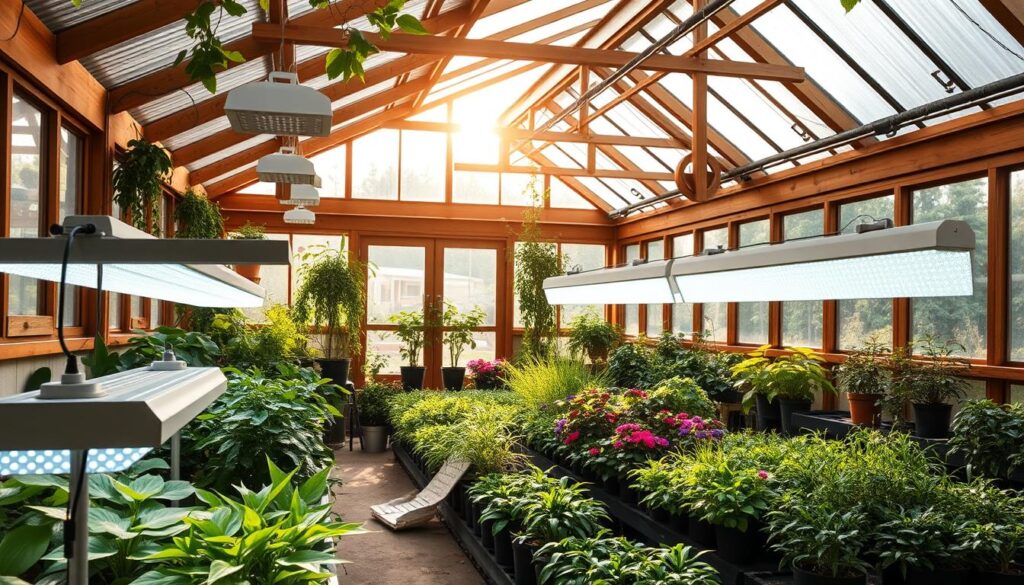
Map your latitude and average daylight in winter. Farther north means more dependence on supplemental light to meet plant needs.
Plant Types and Light Demands: Leafy Greens vs Fruit and Flower Crops
Leafy greens tolerate lower intensity; fruiting and flowering plants need 12–16 hours of bright light. Pick crop types that match available light and your desired growing season.
Season Goals: Seed Starting, Fall Extension, and True Winter Production
Set clear season goals before you invest. Early seed starting asks for close fixture placement; fall extension can use short evening boosts; full winter production requires daily, robust lighting blocks.
Site Factors and Access: Clouds, Shade, Orientation, Power, and Budget
Survey cloud patterns, nearby trees, and greenhouse orientation. A light meter helps confirm shortfalls where natural sunlight is weakest.
If electricity is limited, favor low-light crops and season extension; with power, compare energy costs to expected yield gains. Keep a simple log of plant response and your experience to refine placement and schedules.
- Start by mapping climate and daylength.
- Decide crop mix based on light needs and goals.
- Plan infrastructure: fixtures, energy, and budget.
For practical tips on fixture placement and schedules, see this gardening under lights resource.
Types of Grow Lights: LED, Fluorescent, and HID Compared
Match fixture choice to the crop stage, bench layout, and climate to get the best balance of energy and yield. Simple changes in spectrum and placement can cut power costs and lift production.
LED options: efficient, full-spectrum, and low heat
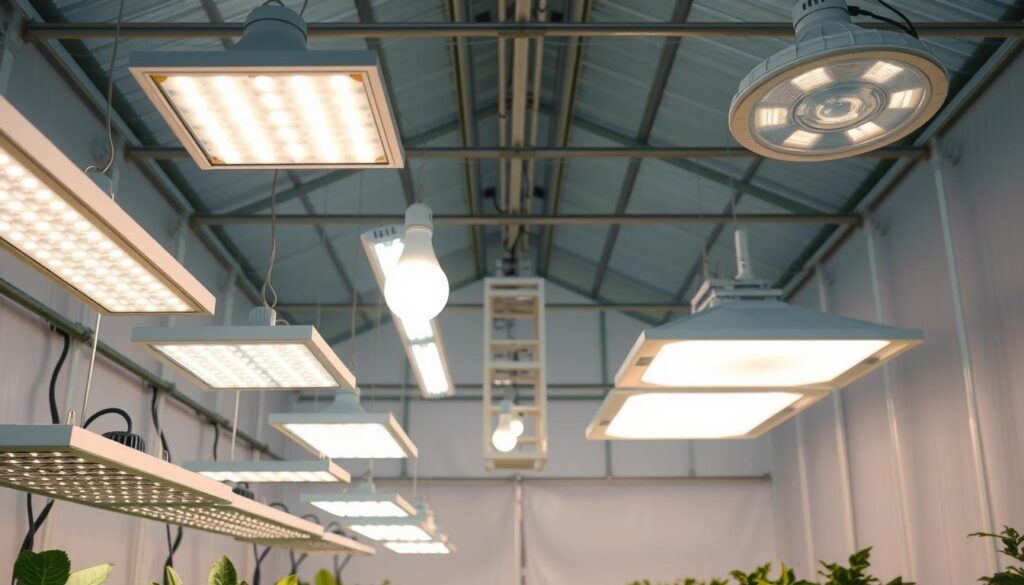
LED fixtures deliver strong efficiency and broad spectrum options. They run cool, so you can place them closer to seedlings and tight aisles. Many models cover both vegetative growth and flowering across stages.
Fluorescent T5/T8: propagation and leafy greens
T5 and T8 tubes are affordable and even for seed trays. These bars work well for seedlings and leafy greens, with low radiant heat and decent lifespan. Avoid older T12s — output is weak.
HID systems (MH/HPS): high output for big production
Metal halide favors vegetative growth; HPS favors flowering and fruit set. HID bulbs deliver high intensity for tall crops and deep canopies, but they run hot and need ventilation and careful spacing.
| Type | Best For | Heat | Energy |
|---|---|---|---|
| LED / Full-spectrum | Benches, full-cycle | Low | High efficiency |
| T5 / T8 Fluorescent | Seedlings, leafy greens | Low | Moderate |
| HID (MH / HPS) | Tall crops, flowering boost | High | Lower efficiency |
Avoid incandescent and outdated bulbs. They waste energy and give poor usable wavelengths for plants. For mixed benches, pair LEDs for full-cycle work with fluorescents for propagation and HPS where extra flowering push is needed.
For practical layout ideas and small-space herb setups, see indoor herb garden ideas.
What to Consider When Buying Grow Lights for a Greenhouse
Choosing fixtures starts with data — PPFD maps, coverage charts, and realistic power budgets. Match the photon output and spectrum to where your plants sit, not just to a product page claim.
Spectrum and PPFD
Spectrum, PPFD, and Coverage: Ensuring Enough Light Reaches Every Leaf
Match spectrum and PPFD to crop needs, and confirm coverage maps so enough light actually reaches every leaf across your benches.
Ask manufacturers for PPFD charts at your intended hanging distance. That helps avoid underlit edges where plants lag or stretch.
Fixture Count and Layout by Area: Even Distribution Without Hot Spots
Plan fixture count and layout by area and mounting height to create even lighting—uniformity matters as much as raw output for consistent growth.
Sketch bench layouts and pathway clearances to determine beam overlap and prevent hot spots beneath a single unit.
Energy Use, Heat Management, and Waterproof Ratings
Compare operating costs: lower energy use and less heat often make efficient fixtures the better long-term value, especially in humid conditions that demand durable, moisture-rated gear.
Favor cooler-running options if ambient temperatures run high, and choose sealed housings and corrosion-resistant hardware for humid conditions.
Budget, Longevity, and ROI
Evaluate total cost of ownership: purchase price, lifespan, warranty, power consumption, and replacement cycles for drivers or lamps.
Prioritize the right system for each zone—propagation, vegetative growth, and flowering—so you meet needs without overspending.
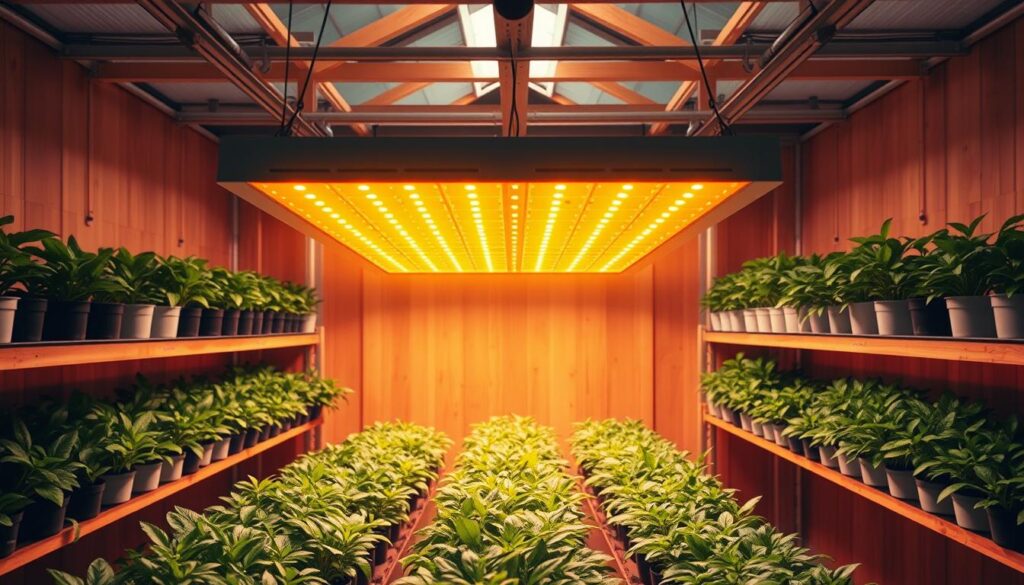
“Verify manufacturer PPFD maps at your hanging height — it’s the best insurance against uneven benches and wasted energy.”
- Use manufacturer PPFD charts at your intended hanging distance to avoid underlit edges.
- Sketch bench layout to plan beam overlap and even coverage.
- Compare energy and heat to estimate operating costs and cooling needs.
- Choose moisture-rated fixtures for humid conditions and longer service life.
| Factor | Key Question | Recommendation |
|---|---|---|
| Spectrum / PPFD | Does output match crop needs at canopy? | Request PPFD maps and choose full-spectrum or targeted bands as needed. |
| Layout / Area | Will benches get uniform coverage? | Plan fixture count by square footage and mounting height; aim for even overlap. |
| Energy / Heat | What is the long-term operating cost? | Favor efficient LEDs for lower energy and heat; plan ventilation if using high-heat systems. |
| Durability / Conditions | Can fixtures handle humidity? | Pick IP-rated housings and corrosion-resistant mounts for wet environments. |
Setting Up and Using Grow Lights: Distances, Timing, and Seasonal Schedules
Small adjustments in height and hours often fix most bench problems faster than new gear. Start with recommended distances and a reliable timer, then tune to plant response.
Mounting heights:
- Fluorescents: 2–4 inches from leaves for compact seedlings.
- LED: start ~12 inches or more, adjust by intensity and plant response.
- HID: usually 24 inches or farther to avoid heat stress and burn.
Timing and hours:
Use timers to give seedlings and full-sun crops 12–16 hours daily. Extend daylength on cloudy or short winter days with morning and evening blocks to keep development steady.
Seedlings vs mature plants:
Keep young plants close to cool fluorescents to prevent stretching. Raise fixtures as canopies thicken so light spreads evenly and no tray is underlit.
Flowering and winter tactics:
For flowering, emphasize red light while keeping a balanced base so structure stays strong. In winter, add supplemental hours to compensate for low sun angles and frequent clouds.
Troubleshooting:
- Bleached or crispy leaf margins = too much light/heat.
- Long, pale stems = not enough light; lower or add hours.
- Move fixtures in small steps; monitor over several days before more change.
“Watch leaves and internodes closely: they tell you when to raise, lower, or lengthen the hours.”
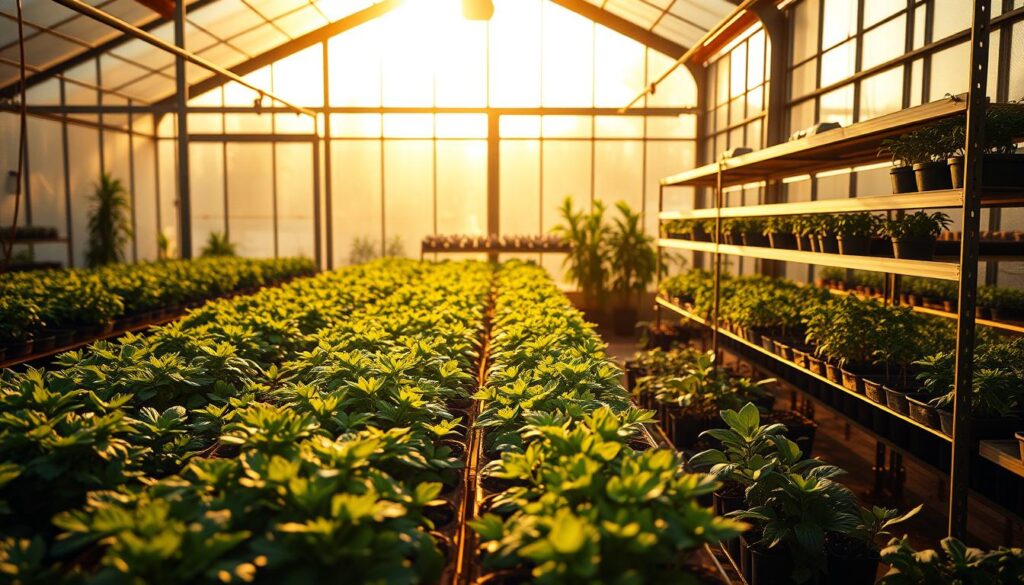
Optimizing Greenhouse Lighting Systems for Health, Yields, and Efficiency
When you treat sun and fixtures as a single system, plants get a steady daily total that supports even growth and higher yields. Small, deliberate choices—zoning, ventilation, and meter checks—turn a patchy bench into uniform production.
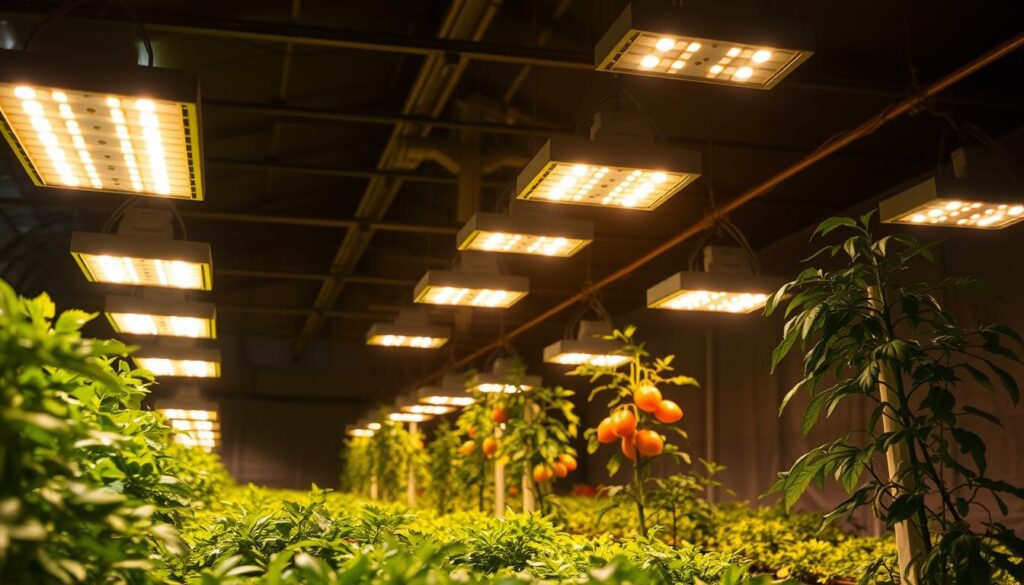
Integrating Natural Sunlight with Supplemental Lighting
Blend natural sunlight with targeted supplementation so plants receive a steady daily total. Top up in the morning or late afternoon on cloudy days rather than blasting full power all day.
Airflow, Heat, and Humidity Control Under Lights
Lights change local temperature and moisture. Balance fans and vents to sweep warm air away from canopies. Keep humidity steady to limit mold while protecting delicate leaves.
Staggered Zones: High-Light vs Low-Light Crops in One Space
Create zones for high-output crops and moderate benches for leafy greens and propagation. This improves yields without overspending on fixtures or energy.
Seasonal Adjustments: Spring Ramp-Up and Fall Extension
Ramp light hours in spring to accelerate development, and add evening or morning top-ups in fall to extend the growing season. Small, scheduled shifts keep crop timing predictable.
Measuring Light: Using a Light Meter to Verify Levels
Use a light meter to confirm PPFD across benches and shadowed corners. Check mid-morning, midday, and late afternoon to spot dips that need correction.
Scaling Smartly: From Starter Racks to Full-Production Systems
Prioritize uniform coverage and serviceable mounts as you scale. Efficient, low-heat fixtures such as led grow lights lower energy and simplify ventilation needs.
- Blend natural sunlight with targeted supplementation so plants receive a steady daily total; use a light meter to confirm levels in both bright and shadowed corners.
- Create zones: high-output areas for fruiting crops, moderate light for leafy greens, and propagation under gentler coverage to improve yields without overspending.
- Manage airflow, heat, and humidity together—lights can nudge temperature and moisture; balanced conditions support steady growth and clean foliage.
“Track yields by zone and adjust spacing so each plant captures its share of light; this avoids overcrowding that wastes both light and floor space.”
For deeper technical layouts and coverage charts, consider this practical resource on greenhouse lighting systems.
Conclusion
A steady, predictable light plan turns seasonal dips into reliable growth windows for your plants. Consistent schedules and proper placement keep development on track through short, cloudy months.
Consistent lighting helps bridge short days and weak sun. Aim for 12–16 hours for full-sun crops. Place fluorescents 2–4 inches from seedlings, LEDs about 12+ inches, and HID 24+ inches to avoid stress.
Blue bands favor compact vegetative growth; red supports blooms and fruit. Use supplemental fixtures for early seedlings, fall extension, or true winter production when the sun is not a reliable source.
Start simple: pick fixtures that match your benches, set a timer, and let a light meter tell you when to add hours. With steady routines and small refinements, your greenhouse gardening experience will yield healthier greens, stronger seedlings, and more predictable harvests.