
I remember standing over a tired row of seedlings, fingers dusty, wishing I could give them steady, gentle water while I tended other tasks. This guide grew from that small need into a clear plan you can build in a weekend.
You’ll learn how a raised bed drip setup with mulch cover and tubing clips works, what to buy, and how to install it with confidence. Expect a full parts list from the spigot adapter through headers, laterals, end closures, and the fasteners that keep lines tidy under mulch.
The finished system looks calm and neat: a mainline feeding multiple beds, a header along the bed edge, and parallel lines tucked under mulch to keep moisture steady and lines protected.
We’ll flag the big decisions—drip tape versus drip line, rows per bed, faucet versus hard‑piped supply, and whether to automate—and we’ll cover pressure limits early so household PSI won’t surprise you.
Key Takeaways
- Drip irrigation targets water at plant roots and can save lots of water versus overhead sprinklers.
- This guide gives a complete parts list and step sequence: layout → parts → pressure → install → mulch → maintain.
- Mulch and clips protect lines and keep moisture stable for deeper, tougher roots.
- Watch household PSI—use pressure regulators or a 4‑in‑1 adapter at the faucet to avoid blowouts.
- Practical links and examples help you size flow, pick emitter spacing, and set run times—see a hands‑on guide at this step-by-step walkthrough and a compact system idea at this practical example.
Why drip irrigation in raised garden beds works so well
When water arrives quietly at the soil surface, plants respond with deeper, steadier growth. Slow delivery wets the root zone, not leaves or paths, so roots grow down and outward instead of staying shallow.
That deeper root habit makes plants tougher. They resist drought better and avoid stress swings that cause bolting or fruit cracking. In short, steady moisture reduces guesswork and gives you healthier yields.
Deep, even watering for healthier roots
Slow emitters spread moisture through a wider soil area over time. This encourages roots to explore the bed and reach more nutrients. Fewer dry spots appear, and seedlings establish faster.
Water efficiency vs. overhead sprinklers
Targeted delivery cuts waste. By keeping water at the surface, you limit evaporation and runoff. Studies show this approach can save up to 70% more water than overhead sprinklers, especially in hot or windy conditions.
When tape vs. round line makes sense
Drip tape is a flat line with pre-spaced emitters that runs well at lower pressure (about 8–15 PSI). It suits close, straight rows of greens or carrots.
Round emitter tubing runs at higher pressure (roughly 20–40 PSI), lasts longer, and bends around transplants or perennials. Choose tape for tight, seasonal plantings; choose round line for durability and reuse.
- Quick cue: pick tape for close emitter spacing and long straight runs.
- Pick round line when you want adaptability and fewer seasonal replacements.
Covering lines with organic mulch helps lock moisture into the soil, so you run the irrigation system less often. Plan your layout next to avoid buying the wrong fittings or under‑sizing headers; a clear map saves time and money — see a practical walkthrough here and a compact example here.
Plan your layout before you buy parts
Sketching a clear map saves time and money. Draw each raised garden and mark the water source. This simple step cuts confusion on installation day and prevents wasted cuts or wrong fittings.

Map the water source to each bed: hose bib vs. hard-piped PVC
Pick the supply that fits your garden size. A hose bib is fast and flexible for most backyard plots. Hard-piped PVC looks tidy and suits larger projects that need concealed risers.
Choose header placement and bed routing for clean, serviceable runs
Place the header at a short end of the raised bed so laterals run straight along the length. Straight runs are easier to flush, repair, and clip down under mulch.
How many rows per bed based on bed width and planting style
Use about 12 inches between rows for general plantings. For a 4×8 bed, try four lines at roughly 9-inch spacing for dense salad crops.
- Quick checklist: bed width, bed length, number of garden beds, distance from spigot to first bed, total mainline length.
- Plan for flow: long runs and too many laterals can lower pressure at the far end—map lengths before you buy.
For a deeper how-to on pressure and parts, see a practical drip irrigation system guide.
Raised bed drip setup with mulch cover and tubing clips [parts-list]
Start your parts list by tracing the water from the spigot to each final emitter. This “build path” order keeps buys and assembly logical: source → mainline → headers → laterals → closures → secure under mulch.
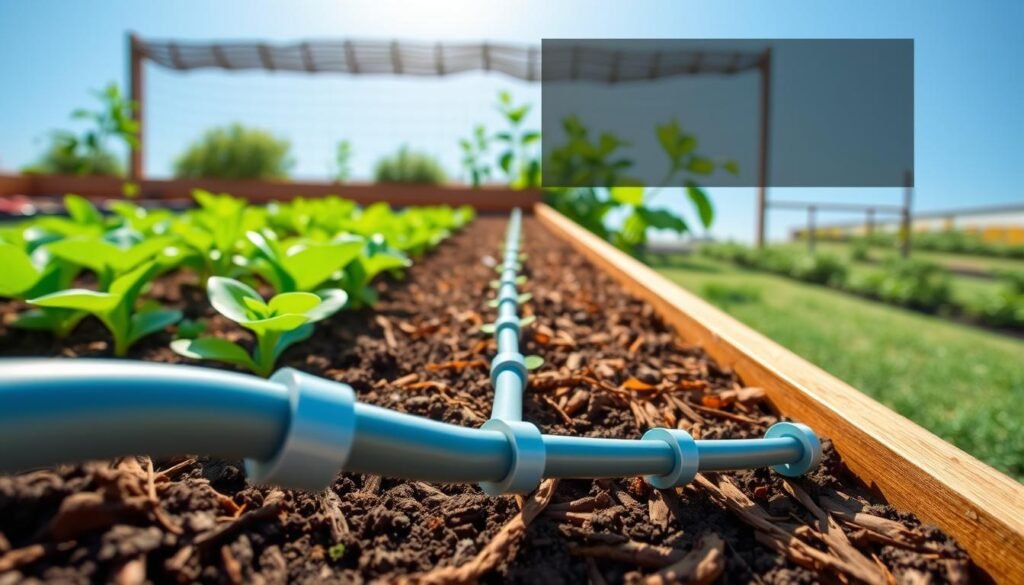
Head assembly essentials
Order matters: backflow preventer (vacuum breaker) → filter → pressure regulator → tubing adapter. Install those downstream of a timer or valve to avoid constant pressure on components.
Mainline and header gear
Use 1/2″ poly as the mainline. Add a tee to feed each bed, elbows for corners, and a per‑bed manual valve for crop control.
Delivery, connections, and protection
Choose drip tape emitter spacing (6–24″) and GPH to suit crops. Carry barbed adapters, a header punch, end caps, figure‑8 clamps, and goof plugs. Secure headers with clips and laterals with staples, then lay a 2–4″ mulch layer to protect lines.
Automation and extras
A hose‑end timer fits small plots; multi‑zone controllers suit larger gardens. Pack spare couplers, extra goof plugs, and a few barbed fittings to avoid mid‑install trips.
For a complementary hands‑on guide, see this beginner resource.
Dial in water pressure the right way for drip tape and drip tubing
Most outdoor spigots push far more force than slow emitters need. Control the flow early and your irrigation system will run reliably and be easy to automate.
Too much water pressure can pop fittings or split thin tape. Average household supply sits near 40–60 PSI—great for showers, too rough for low‑pressure lines.
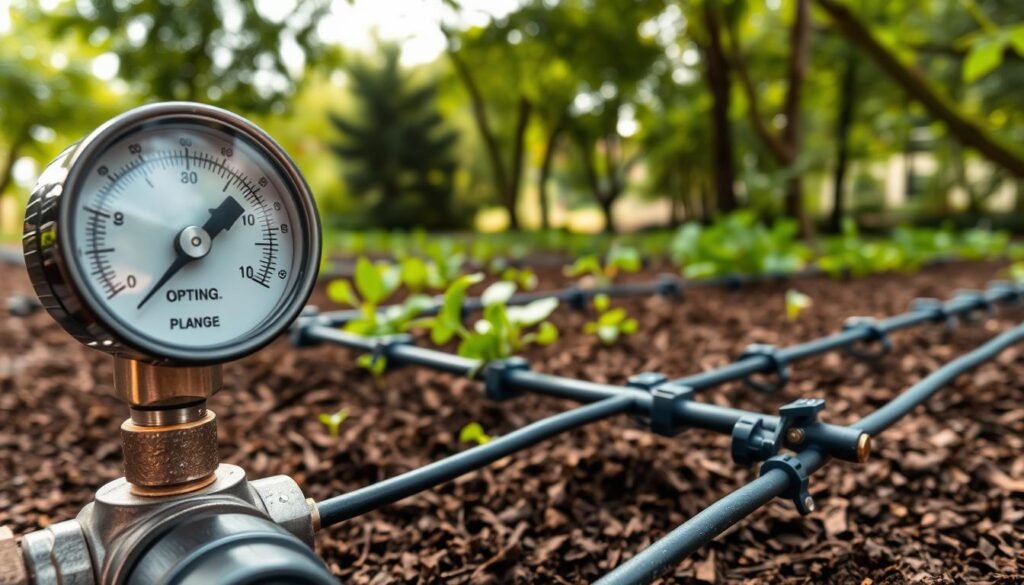
Typical household PSI and why regulation matters
High PSI stresses connectors and thin hose products. A sudden surge will make emitters behave unevenly or fail. Place a filter first, then a regulator to protect downstream parts.
Target PSI ranges to shop for
Standard tubing: aim for about 20–40 PSI (use a 20–40 PSI pressure regulator).
Drip tape: most tape likes 8–15 PSI—check the specs and choose a low‑pressure regulator or a dedicated tape kit.
Two‑stage regulation for larger gardens
For multiple beds, use a main regulator near the source at ~40 PSI, then a second regulator at each bed to drop to ~15 PSI for tape. This two‑stage approach evens flow across long runs.
- Troubleshoot: weak flow at the far end usually signals long runs, flow limits, or the need to zone and add a second regulator.
- Placement tip: keep timers and valves upstream; install the head assembly (filter + regulator) downstream to avoid constant stress on parts.
For a practical installation guide that pairs well with pressure advice, see this step-by-step tutorial.
Spacing, flow, and run-time guidelines for consistent soil moisture
Good spacing turns separate lines into a single, evenly watered planting zone. Plan rows so the whole soil profile stays moist for healthy roots, not just the stripe under each line.

Row spacing targets for even saturation
Keep rows no wider than 12″ apart for most mixes. For intensive greens or close sowing, tighten to about 9″.
Tip: when spacing is right, seedlings and mature plants share moisture instead of competing for it.
Estimating bed flow rate
Count emitters per line (bed length ÷ emitter spacing). Multiply that by the GPH per emitter and by the number of lines to get gallons per hour for the bed.
- Example: a 4×8 bed with 6″ spacing = ~15 emitters per run.
- Four runs × 15 emitters × 0.25 GPH = ~15 GPH for the bed.
If you double emitter GPH, you can usually halve runtime to deliver similar totals.
Seasonal watering and seed-starting notes
A 2–4″ layer of organic mulch slows evaporation so you water deeper and less often during hot season.
Direct-sown seeds often need brief overhead or hand watering until the top 1/4–1/2″ stays damp during germination.
Feel test: check moisture 2–4″ down — aim for evenly moist soil with a slight dry gap between deep cycles.
For seasonal soil tips and timing, see why fall is key for building healthy.
Install the head assembly and mainline from your water source
This is the plumbing step that looks the most technical, but it’s mostly stacking parts in the right order and cutting tubing cleanly. Once the head assembly is solid, the rest of the garden feels like simple assembly.

What goes on first at the spigot and why
Correct order: backflow preventer → filter → pressure regulator → tubing adapter.
Backflow protection keeps household water safe. The filter catches grit before it reaches emitters. The regulator sets safe pressure so your irrigation parts last. Finish with the adapter so 1/2″ mainline connects cleanly to the source.
Where to place timers and valves
Put the timer or zone valve upstream of the head assembly. Drip products are not rated for constant pressure, so keeping the timer first prevents damage to the filter and regulator.
Routing the 1/2″ mainline and flow limits to watch
Run the straightest, shortest path to the first garden area; branch with tees rather than long loops to hold pressure. Follow the practical “200/200″ rule: roughly 200 feet max run and about 200 GPH total for 1/2” poly.
When runs approach those limits, split into zones or shorten lines. Leave an accessible end cap or flush point so you can drain and service the system each season.
Quick installation habits that save headaches
- Warm the tubing in sun for easier fittings and gentler bends.
- Flush before final connections: run water with the mainline open for a few minutes to clear debris.
- Avoid kinks: use gentle curves to protect flow and fittings.
For a related lawn plan and practical watering schedule, see our 4-week lawn plan.
Build each raised bed header and connect drip lines
Think of the header as a service rail: it keeps lines tidy and makes repairs quick when crops change. These short steps show how to assemble a clean header, punch laterals, run tape with emitters up, and finish ends so the system stays reliable.
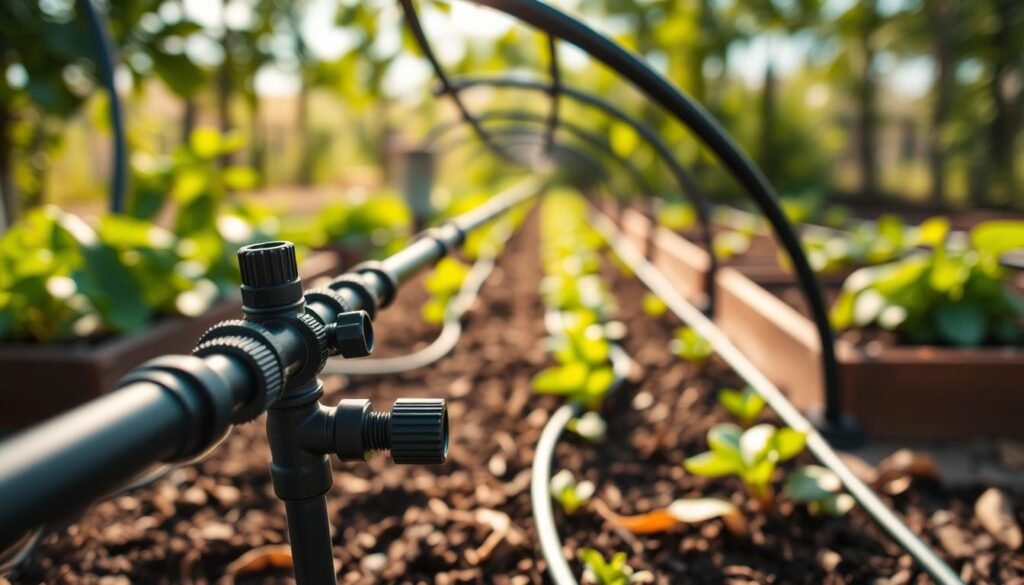
Make a neat header using tees, elbows, and a coupling valve
Branch the mainline with a tee, turn the run with two elbows, and install a per‑bed coupling valve so you can shut one area off for seedlings or rest cycles.
A typical per‑bed kit uses one tee, two elbows, a coupling valve, and an end cap. This keeps service simple and parts minimal.
Punch the header and attach laterals with barbed fittings
Use a proper punch tool for clean holes. Push barbed fittings fully into the header so each lateral seals without leaks.
Space each connection evenly so lines align across the planting rows and water spreads uniformly.
Run drip tape down the length with emitters facing up
Lay each drip tape flat and straight. Ensure emitters face upward to avoid clogging and to create even wetting along the line.
Close ends and add flush points for maintenance
Finish each run with an end cap or a figure‑8 clamp at the line end. Add a simple flush point so you can clear debris mid‑season.
Secure lines so they stay put under surface cover
Attach the header to the bed edge with clips or cable ties, and pin laterals with staples so harvesting won’t pull them loose.
- Quick check: pressurize the system before you finish—listen for hissing and watch barbed joints for drips.
Cover with mulch and protect the system through the season
Mulch slows evaporation, shields lines from sun and heat, and helps soil hold water longer. This simple layer also buffers daily temperature swings that stress roots and plastic parts.
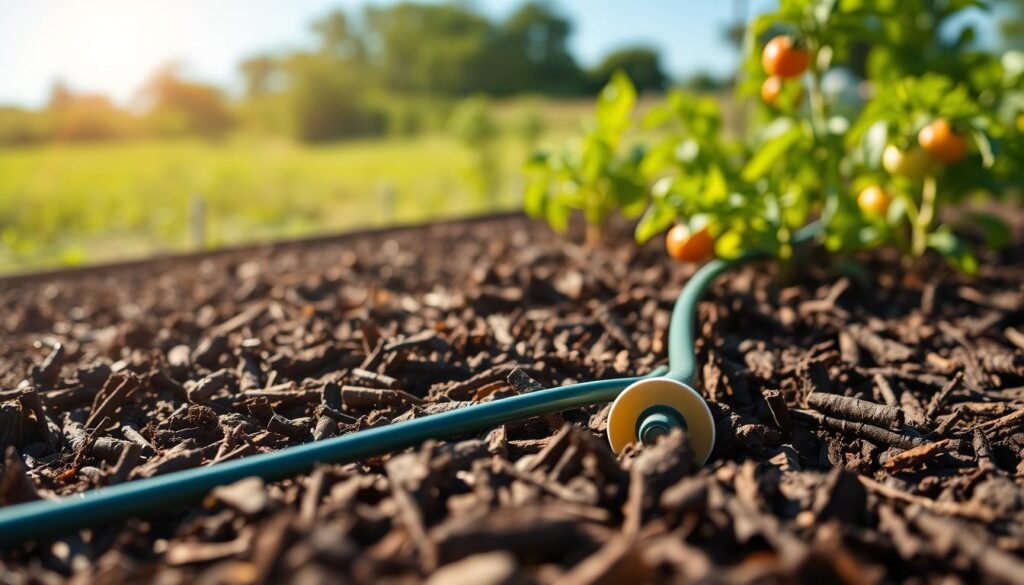
How a surface layer helps moisture and plastics
Think of mulch as a blanket for the soil and lines. A 2–4 inch layer keeps the topsoil damp and cuts evaporation. That means fewer runs and steadier water at the root zone.
Practical tip: only cover lines after a full pressure test. Keep fittings and valves shallow so you can access the end points for repairs.
Flush‑out best practices to avoid clogging
Open end caps or flush points and run water for 30–60 seconds after any plumbing work. This clears grit before it reaches emitters.
Repeat periodic flushes if flow drops. A quick flush can often restore even wetting across lines without dismantling the system.
Seasonal checks for leaks, blowouts, and pressure issues
Walk beds after a run. Wet spots away from lines usually signal a leak. Hissing or popping means excess pressure — check the regulator and filter.
If far rows stay dry, the cause is often long runs, clogged filters, or a need to zone for pressure. Keep a small parts kit handy for midseason fixes.
End‑of‑season and winterizing options
In mild climates: drain the system in place and cap ends. In freezing zones, remove headers and store them to avoid cracks.
Threaded adapters make removal easy: unscrew the header and lift each unit as one piece for storage. Label parts and store spares together for quick spring reinstallation.
“The best maintenance is simple: protect plastic from sun, flush often, and spot-check pressure. Small habits keep a system running for years.”
| Action | When | Why it matters |
|---|---|---|
| Apply 2–4″ mulch | After pressure test | Reduces evaporation; shields lines from UV |
| Flush mainline | After install & midseason | Removes grit that clogs emitters |
| Pressure check | Monthly | Detects regulator faults or blowouts early |
| Drain or remove headers | Before freeze | Prevents cracking; easier repairs |
For a quick, related how‑to on faucet connections and small system care, see easy faucet options.
Conclusion
Wrap up the project by testing one area, tuning pressure, and learning what your soil needs. Start small, confirm the head assembly, then expand once flow proves even across lines.
Quick recap: sketch the layout, buy once, set a backflow device, filter, pressure regulator, then place the header at the short end. Confirm emitters face up, finish runs with an end cap or figure‑8 closure, add a flush point for easy maintenance.
Tune run‑time by season and plant size; aim for deep cycles that keep soil evenly moist without staying soggy. Small mistakes are normal; use goof plugs, spare fittings. When ready, make a shopping list from the parts section, then follow a simple test run. For a practical how‑to, see the ultimate 7‑step guide.