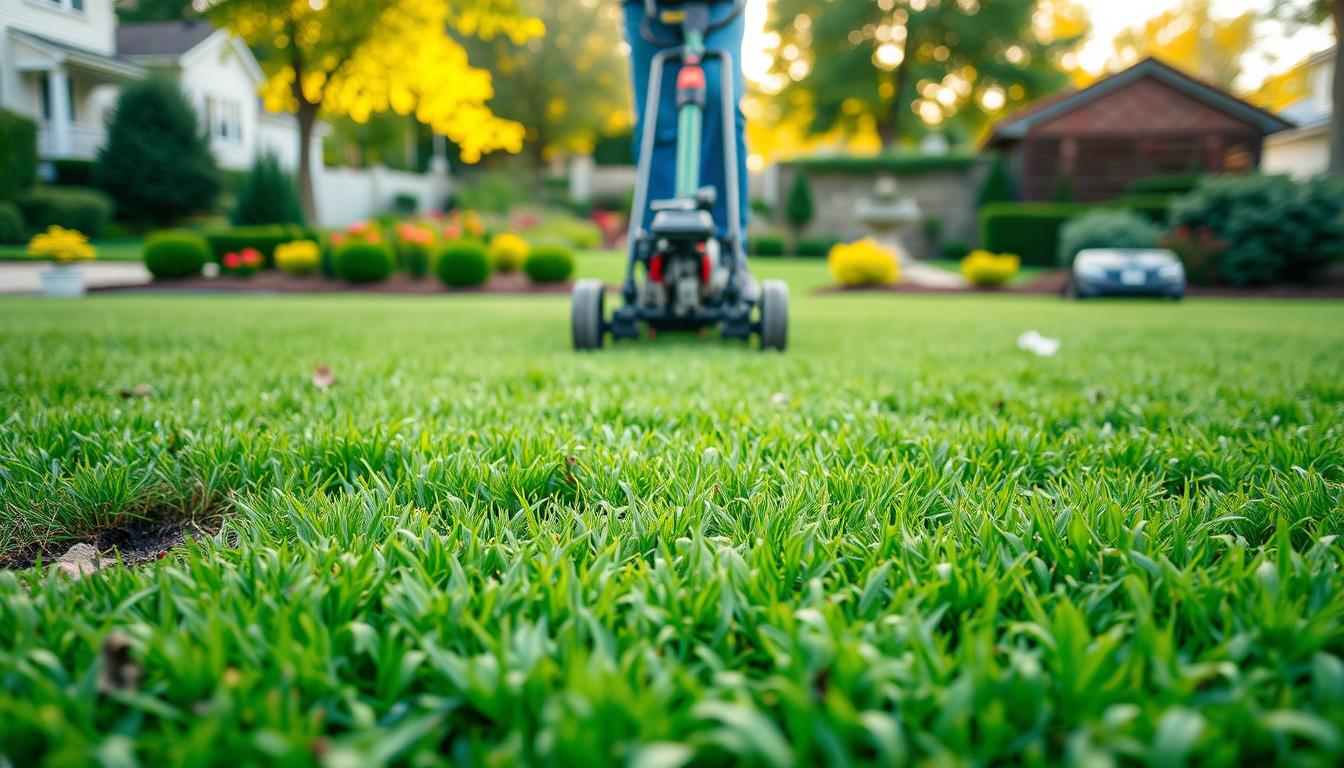
Did you ever wonder why a green lawn can still sit at an inch tall and refuse to thicken? That question led me to a quiet culprit in the ground: compaction. What looks like healthy turf on top can hide roots gasping for air below.
Compacted soil squeezes out pockets that roots need. Roots then can’t reach water or nutrients. Fertilizer and extra seed only mask the issue.
The turning point came when I switched from surface fixes to core aeration, topdressing, and sensible watering. Within weeks the yard showed steady vertical growth, deeper roots, and fewer bare spots.
This short guide will show simple DIY tests for compaction, why pH and organic matter matter, and a weekend plan to revive soil structure so your lawn responds in the right time frame.
Key Takeaways
- Compaction hides below the surface and mimics pests or shade.
- Core aeration plus topdressing fixes structure faster than extra fertilizer.
- Check soil pH and organic matter; lime if pH is near 5.0, but plan for months.
- Water early in the morning and follow seed-specific schedules for best results.
- Simple DIY tests help diagnose compaction and guide a weekend repair plan.
From patchy frustration to growth: the hidden soil issue holding your lawn back
Compacted soil chokes roots and stalls recovery, even when turf looks green. Simple checks will separate true soil compaction from pests, shade, or watering problems.
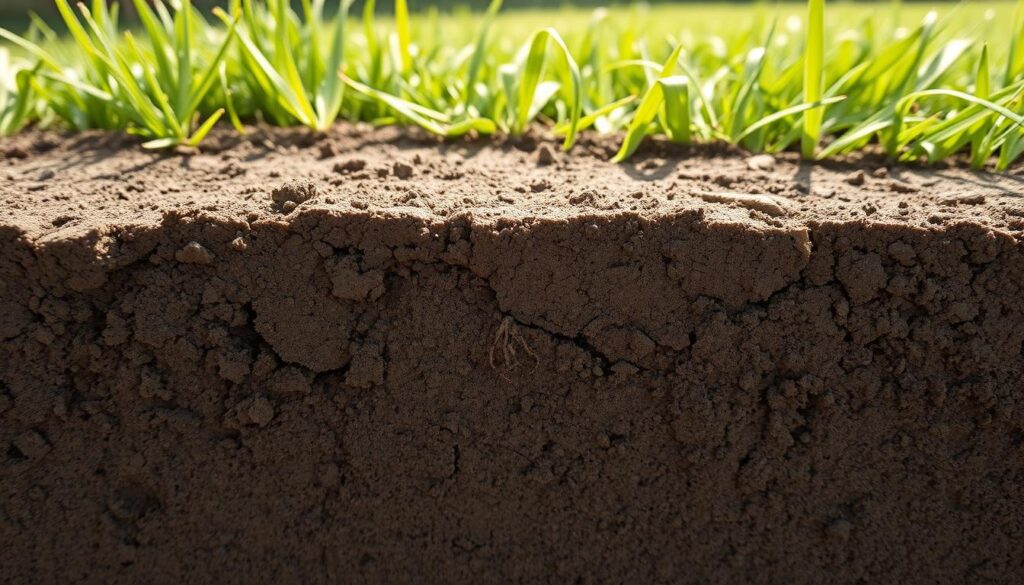
Define it plainly: Compaction means tight, dense particles reduce pore space. Roots lose oxygen, water, and nutrients. Turf color can stay decent while thickness and root depth suffer.
- How it differs: Pests and disease often show yellow or brown patches; shade thins turf beneath canopies. Compaction can link with traffic and those other causes.
- Real clues: Puddles after watering, a spongy or baked feel, and scalped rows from a mower point to poor rooting in the ground.
- Why weeds win: Shallow-rooted weed species exploit bare soil and thin turf until structure improves.
| Cause | Common Sign | Quick Fix |
|---|---|---|
| Compacted soil | Pooling, shallow roots, thin cover | Core aeration + screened compost |
| Shade | Thin blades under trees | Choose shade-tolerant varieties |
| Uneven water | Patchy damp and dry spots | Reset schedule; water early morning |
New-build lots and fill soils often arrive compacted from heavy equipment. The best way forward is simple: loosen the soil with core aeration, add organic matter, and match seed to your sun and traffic conditions.
Diagnose compaction before you treat it: simple tests and telltale signs
A short walk, a screwdriver test, and a spade slice reveal whether compacted soil is choking roots. These checks separate true compaction from pests, shade, or uneven watering, so you fix the right problem in the right time frame.
A quick walk and a few simple tests will tell you whether tight soil is the real problem.
What to look for in the yard?
Visual clues: clumpy 1-inch tufts, shiny puddles after irrigation, and thin paths where people or pets pass most. Note spots that resist recovery despite fertilizer.
DIY checks anyone can do
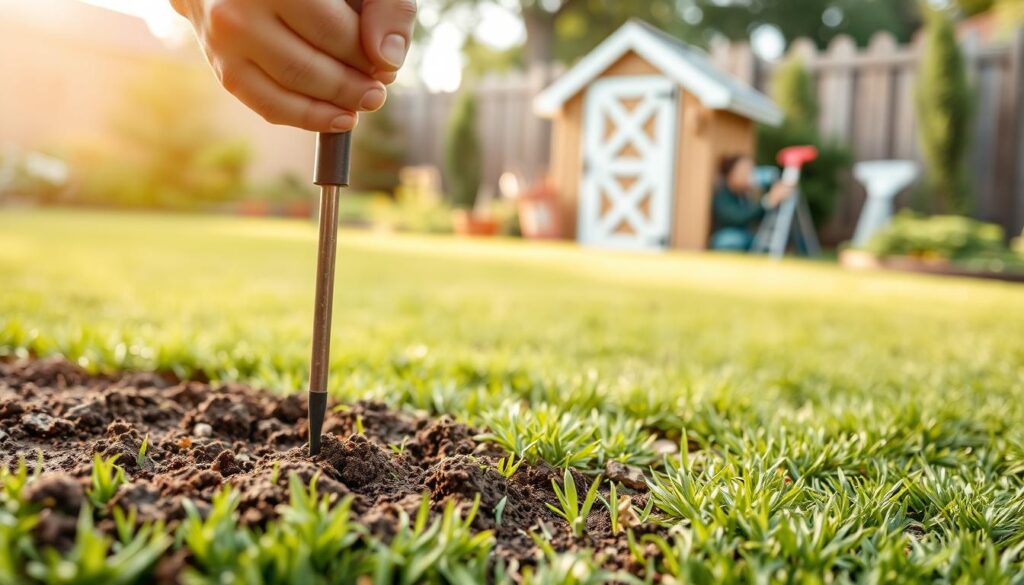
- Screwdriver/rod test: push into moist ground. Resistance below the top inch or two signals poor root penetration.
- Spade slice: cut a 3–4″ slice and look for dense layers, short roots, or gray, low-oxygen bands.
- Puddle timing: water normally; if water stands 30–60 minutes later, infiltration is limited by compaction.
When compaction mimics other issues
Rule out look-alikes. Pest damage shows irregular brown spots. Deep shade stays thin even with proper water. Broken sprinklers create odd wet-dry patterns. Use tests above to confirm compacted ground.
Aerate, topdress, or both?
Core aeration relieves bulk density. Topdressing with screened compost restores organic matter. Together they give the fastest improvement, especially on new-build lots with fill soils and low organic matter.
| Diagnostic | What it shows | Suggested response |
|---|---|---|
| Screwdriver/rod resistance | Shallow roots, tight soil | Core aeration |
| Spade slice with gray layer | Low oxygen, compacted horizon | Aerate + topdress with compost |
| 30–60 min puddling | Poor infiltration | Improve structure; check watering pattern |
Community note: Home forums often show the same pattern: new Kentucky bluegrass lawns with 1″ clumps and slow vertical growth. Many members and replies point to aeration plus pH correction as the practical path forward.
Grass finally started growing after i addressed compaction: a step-by-step how-to
A quick plan makes recovery manageable: core aeration, follow-up care, and targeted overseeding will open compacted soil and give seed a real chance to establish.
A planned aeration day can change compacted soil from a barrier into a welcome bed for new seed.
Core aeration the right way: timing, pattern, depth, and soil moisture
Time the job for active growth. For cool-season lawns, pick fall or early spring when roots repair quickly.
Moisten, don’t soak. Lightly water the day before so tines pull clean 2–3 inch cores without smearing the ground.
Pattern and depth. Make overlapping passes in a crosshatch. Aim for 2–3 inches deep and add extra passes in paths and play zones.
Post-aeration care: watering, topdressing, and overseeding
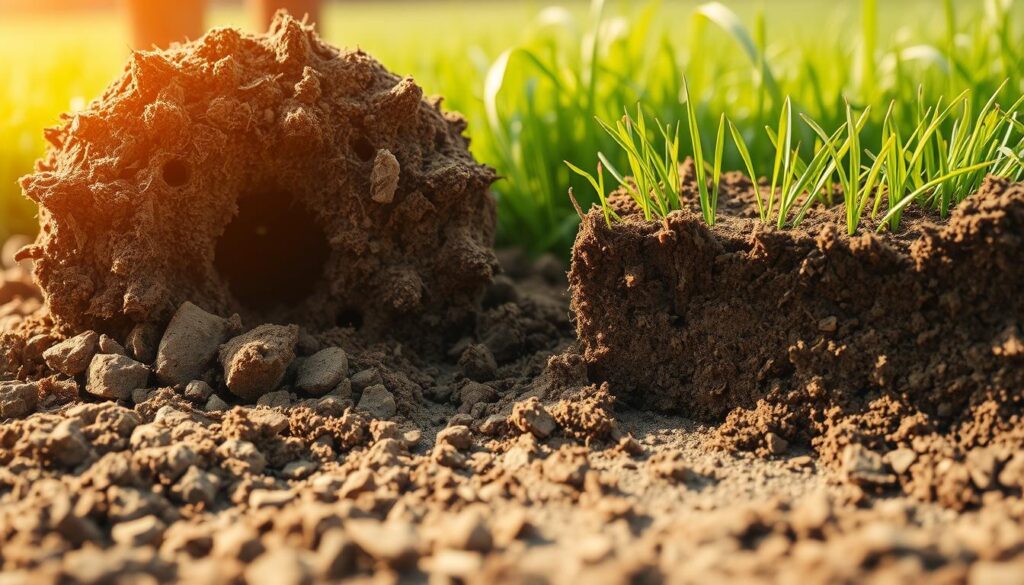
Leave the cores. Let them dry and crumble; they feed microbes and return nutrients to the soil.
- Topdress smart: spread 0.25–0.5 inch of screened compost or a compost/topsoil mix. Lightly rake to settle material without burying crowns.
- Overseed into openings: broadcast a matching grass seed so seed nests in holes for better contact. Kentucky bluegrass will show in 14–30 days; rye types in 5–10 days if used in blends.
- Water to establish: mist to keep the top 0.5 inch moist 2–3 times daily until germination, then shift to deeper, less frequent cycles.
| Step | Why it helps | Quick tip |
|---|---|---|
| Core aeration | Relieves compaction and increases oxygen | Overlap passes; 2–3″ depth |
| Topdressing | Adds organic matter and improves pore space | Use screened compost; 0.25–0.5″ layer |
| Overseeding | Replaces thin spots and fills holes | Match grass seed to sun and traffic |
| Watering | Supports germination, limits disease | Water mornings; mist until germination |
Watering that works: times per day for new seed and times per week once established
Right watering schedules speed germination and build deep roots. Light, frequent cycles help seed germinate. Then shift to deeper, less frequent sessions to toughen turf against drought.
How often should new seed be watered each day?
Keep the top 0.5 inch consistently damp. For most seed, run short cycles 2–3 times a day until sprouts appear and root tips begin to bind the soil.
On hot, windy days, shorten intervals and add a mid-afternoon mist to prevent crusting.
When do I switch to established turf routines?
After germination, reduce frequency and increase depth. Move to deep watering 2–3 times per week so roots grow downward and resist drought.
Allow the surface to dry slightly between sessions; that encourages stronger roots.
Sprinkler system setup: zones, nozzles, and best time of day
Water at dawn to cut evaporation and disease risk. Calibrate zones so each area gets the same run time.
| Item | Why it helps | Quick tip |
|---|---|---|
| Zone timing | Prevents runoff on slopes | Use multiple short cycles for clay |
| Nozzle choice | Improves uniform coverage | Try Rain Bird R‑VAN 14 for efficiency |
| Catch can test | Reveals dry or wet spots | Adjust run times per zone |
- New seed: top half-inch moist with short cycles 2–3 times a day.
- Established: deep sessions 2–3 times per week.
- Drought: increase depth per session, not frequency, and follow local rules.
Pick the right grass seeds for your area, sun, and wear
Match species to microclimates so new turf establishes reliably. Choose blends that suit sunlight, soil, and foot traffic to give seed a real chance to thrive.
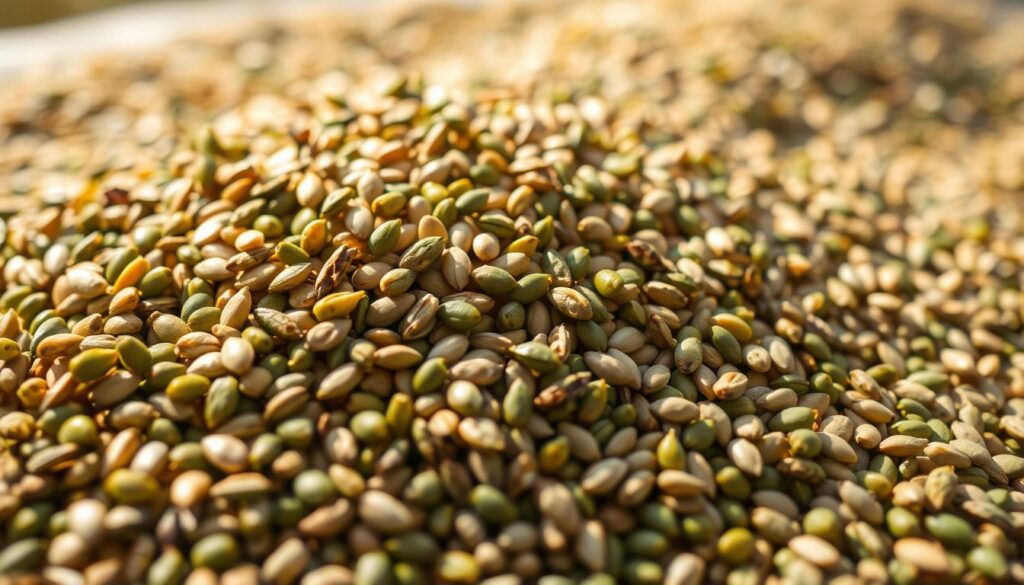
Sun and shade strategy: which mixes work best?
Mix Kentucky bluegrass with fine fescue in mixed-light spots. Kentucky bluegrass spreads to fill bare patches but takes 14–30 days to appear. Fine fescue tolerates low light and helps thin shade pockets recover.
High-traffic and athletic areas: what holds up?
Use tougher types where people run or play. In cool regions, add perennial rye for quick cover (5–10 days) and KBG for density. In warm climates, choose zoysia for wear and drought tolerance.
- Match species to sunlight: blend KBG and fine fescue so seeds grow well across varied light.
- Protect paths: redirect lanes and use stepping stones to cut compaction and wear.
- Calibrate rates: follow label rates and overseed thin zones slightly heavier for even cover.
Soil chemistry matters: fix low pH and feed wisely for steady growth
A clear soil test tells you what to change and when. Fixing low pH and adding organic matter gives seed a real chance to take root and supports steady turf recovery.
A lab soil test can turn guesswork into a clear plan for steady recovery. Start by reading pH and organic matter numbers. Retest after liming or major amendments to track progress.
What does a soil test reveal, and when should you retest?
Read the report for pH, organic matter, and nutrient levels. If pH sits near 5.0, nutrients lock up and roots struggle, so extra fertilizer won’t help much.
Retest 6–12 months after liming or heavy topdressing. Keep simple notes on dates and amounts to compare results.
How and when should you raise a low pH?
Apply lime based on recommendations. Split applications over the season to avoid surface stress. Lime moves slowly—expect months for full change.
Combine lime with aeration and compost to speed benefit by improving structure while chemistry catches up.
When should you fertilize and at what rate?
Feed 4–8 weeks after germination, then about three to four times per year aligned with regional growth windows. Choose balanced products and avoid over-application to not get rid of beneficial soil life.
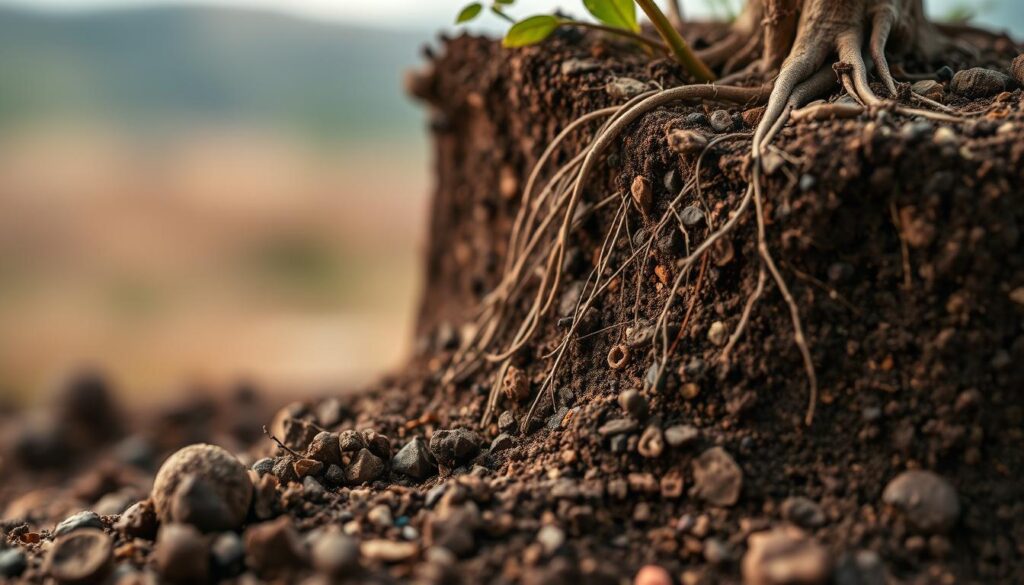
“Correct chemistry and steady organic matter build allow roots to deepen and plants to use fertilizer effectively.”
| Issue | Action | Timing |
|---|---|---|
| Low pH (~5.0) | Apply lime per test; split applications | Expect months for change; retest 6–12 months |
| Low organic matter | Topdress with screened compost; aerate first | Apply in spring or fall; repeat yearly as needed |
| Post-germination feeding | Balanced fertilizer; follow rates for seed type | 4–8 weeks after germination; 3–4 times/yr |
For practical fertilizer guidance, see the fertilizing plants guide to match product choice and timing to your lawn care plan.
Reseed and overseed bare spots the right way for even coverage
Give bare spots a real chance by preparing the soil, choosing seed that fits your light and traffic, and keeping the bed consistently moist until roots hold.
How should I prep compacted areas and shade?
Target bare spots by loosening compacted ground with a hand aerator or a spade fork. Break crusts and remove debris so roots can access oxygen.
Address shade by thinning low branches or picking a shade‑tolerant blend. Then add a thin layer of screened topsoil to raise contact and improve texture.
How do I sow new seed correctly?
Calibrate your seeding rate to the label. Use a heavier rate in thin spots and a lighter pass where turf remains. Avoid clumping to prevent uneven stands.
Broadcast seed evenly, aiming for good coverage of small spots. Rye will appear in 5–10 days; Kentucky bluegrass takes 14–30 days to seed germinate.
Why rake, roll, and never bury seed?
Lightly rake to nest seed into the surface, then roll gently to press seed into contact with soil. Don’t bury seed under thick soil; that reduces light and air.
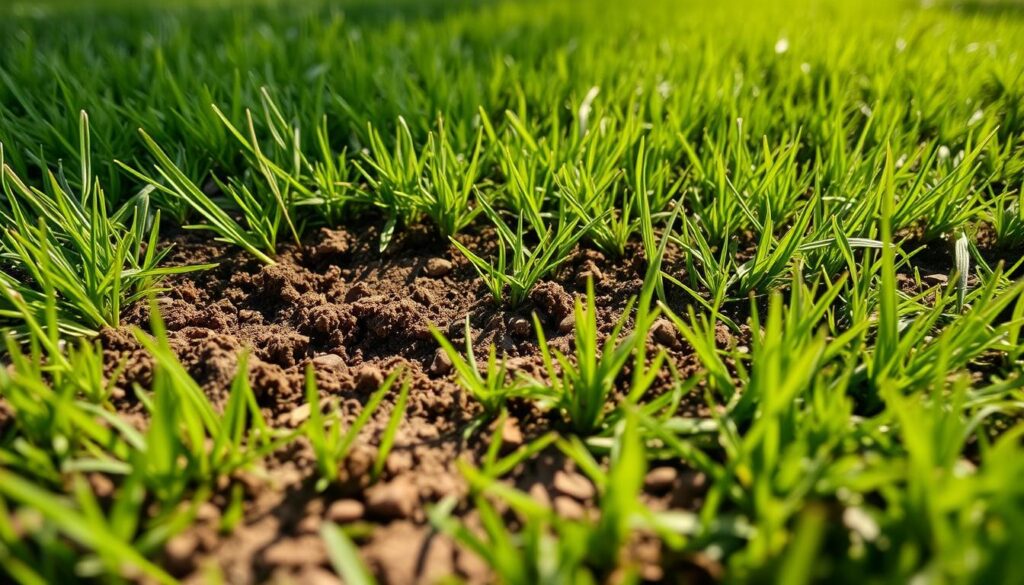
Keep the seedbed moist with short cycles each day until sprouts show. After emergence, shift to deeper, less frequent watering and keep foot traffic off new shoots.
When should I mow the new turf?
Wait 1–2 months or until blades reach recommended height. At the first mow, remove no more than one‑third of the blade to avoid shock and tearing.
- Annual tip: overseed thin zones after aeration to maintain density and outcompete weeds.
- Quick reminder: loosen soil, add screened topsoil, rake, roll, and water early each day for the best chance for seeds to establish.
Keep momentum: weekly lawn care habits that prevent compaction and patchiness
Build a short weekly routine so the yard stays resilient. Small checks stop problems from becoming big ones and protect gains from aeration and overseeding.
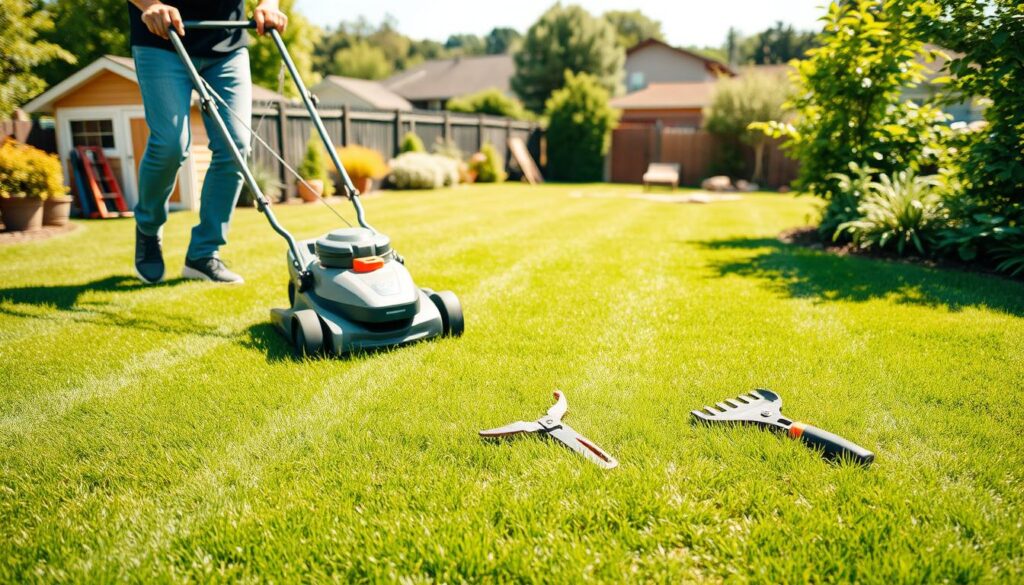
What should I do each week?
- Walk the lawn: spot soggy ground, thinning areas, or fresh wear. Rotate play and pet routes to spread traffic and reduce repeated compaction.
- Adjust mowing height: raise blades in shady zones. Taller cuts shade soil and cut stress; mulched clippings return nutrients and retain moisture.
- Rake and tidy: remove small mats and debris that block airflow. Light raking helps seed contact in thin spots before overseeding.
- Check irrigation: run quick catch tests once a week. Tweak run times where edges dry or puddles linger so water soaks evenly.
- Weed control: pull young weeds by hand to stop seed set. For larger outbreaks, match treatment to the weed type rather than blanket spraying.
Seasonal checks that matter
Schedule aeration for high-use areas during active growth times. Repeat annually where traffic compacts the surface most.
Keep a simple log by week and year. Note what you changed and the results. Home forums and members often share replies and checklists—click expand on habits that match your yard.
| Week | Quick task | Why it helps |
|---|---|---|
| Weekly | Walk, adjust mower, catch test | Prevents re-compaction and evens water |
| Monthly | Rake, spot overseed | Fix thin patches before weeds set |
| Seasonal | Aerate high-use zones | Maintains pore space and root depth |
Keep notes and stay consistent. Small, repeatable care each week protects soil and helps the lawn respond to the larger fixes you set in motion. For a different garden project idea, check this raised herb garden.
Conclusion
When patches refuse to fill in, the real fix usually lives below the surface. Look for compacted soil before pouring on more fertilizer. Core aeration, screened topsoil or compost, and the right seed blend (think fescue in shade) create the best chance for steady growth.
Bring it together: relieve compaction, overseed rightful seeds, and water with purpose—short cycles for germination, then deeper sessions each week to train roots for drought.
Keep simple weekly habits: rotate wear, raise mower height, and rake thin spots before they widen. Track what works this year and click expand to learn more about how how grass grows in your area. Home forums and members often share practical tweaks — test, note, repeat. With time and steady care, your yard will recover and stay resilient.
FAQ
What is soil compaction and how does it affect my lawn?
Soil compaction happens when soil particles are pressed tightly together, reducing pore space. Roots struggle to penetrate compacted soil, water pools instead of draining, and seedlings fail to establish. Compaction is common in high-traffic areas and after heavy equipment use.
What signs should I look for to diagnose compaction?
Look for thin or clumpy 1-inch growth, areas where water puddles after watering or rain, bare patches on walkways, and turf that quickly wilts in heat. These are telltale signs that soil density is limiting root growth and water movement.
What simple DIY tests can confirm compaction?
Try the screwdriver/rod test—push a screwdriver into moist soil; if it’s hard to penetrate, soil may be compacted. Use a spade to slice out a small section to inspect root depth. Repeated surface puddling after watering is another easy indicator.
How can compaction be mistaken for other lawn problems?
Compaction can mimic pest damage, fungal disease, shade-related thinning, or uneven irrigation. If roots are shallow and crowns are weak, it’s often compaction rather than insects or nutrition. A soil test and the DIY checks above help pinpoint the cause.
Should I aerate, topdress, or do both?
Match the fix to soil type and condition. Core aeration loosens compacted layers and is best for heavy clay or heavily trafficked lawns. Topdressing with screened compost or topsoil improves surface organic matter and drainage. Often the best results combine both: aerate first, then topdress.
When is the best time to core aerate?
Aerate during the lawn’s active growth period—early fall for cool-season lawns like fescue and Kentucky bluegrass, or late spring for warm-season grasses. Aerate when soil is moist but not saturated for proper core extraction and minimal turf stress.
How deep and how often should I aerate?
Aim for about 2–3 inches deep with a core aerator that removes plugs. For compacted lawns, annual aeration is common; very heavy compaction may need two sessions a year for a season or two. Avoid excessive aeration on sandy soils.
What should I do right after aerating?
Water lightly to settle the soil if conditions are dry. Broadcast screened compost or topsoil over the lawn to fill holes and improve organic matter. Overseed thin areas while plugs remain; keep seed moist until established.
How often should I water new seed versus established turf?
New seed needs light, frequent watering—typically two to three times a day—to keep the topsoil consistently moist during germination. Once established, water deeply two to three times per week, adjusting for rainfall and drought conditions to encourage deep roots.
What’s the best time of day to run my sprinkler system?
Water early in the morning, between 4 a.m. and 9 a.m., to reduce evaporation and fungal risk. Avoid evening watering when leaves stay wet overnight, which can encourage disease.
How do I choose seeds for sun, shade, and high-traffic areas?
Match seed to site conditions. For sunny lawns, Kentucky bluegrass or tall fescue mixes perform well. For shady areas, fine fescues handle lower light. For high-traffic spots or athletic fields, choose durable varieties like improved tall fescue or specially blended mixes made for wear tolerance.
What should a soil test tell me and how often should I test?
A soil test shows pH, nutrient levels, and organic matter. Test every 2–3 years or when starting major renovations. Use results to adjust lime or fertilizer applications and to correct specific nutrient deficiencies.
How do I raise low pH and how long does liming take?
Apply agricultural lime based on soil test recommendations. Lime reacts slowly; you may see pH improvement over several months and full effect in 6–12 months. Broadcast evenly and incorporate with aeration or topdressing for best results.
When and how often should I fertilize after overseeding?
Apply a starter fertilizer at seeding, then a light follow-up 4–8 weeks after germination to support steady root and leaf growth. For established lawns, plan three to four moderate feedings per year based on soil test and species needs.
How do I prep bare spots before reseeding?
Loosen compacted soil in the spot, remove debris, address persistent shade or drainage issues, and add a thin layer of quality topsoil or screened compost. Ensure good seed-to-soil contact for reliable germination.
What’s the correct way to sow new seed and ensure good contact?
Broadcast seed at the recommended rate, lightly rake to mix seed into the top 1/4 inch of soil, and use a roller or the back of a rake to press seed into contact without burying it. Keep the area consistently moist until seedlings have established.
When should I mow newly seeded areas for the first time?
Wait until new seedlings reach the recommended mowing height for your grass type and remove no more than one-third of the leaf blade at a time. This prevents stress and encourages deeper rooting.
What weekly habits prevent compaction and patchiness?
Rotate high-traffic routes, vary play areas, keep mower blades sharp and at proper height, and mulch clippings to retain moisture. Regularly check irrigation uniformity and inspect for pests or shaded problem spots.
How can I protect high-traffic zones and paths?
Use stepping stones, install a formal path, or reinforce with wear-tolerant turf or artificial turf in the highest-use corridors. Periodically rest and reseed heavily used areas after aeration and topdressing.